
How To Build An Online Tutoring Site
So you want to tutor online but don’t know where to start? My number one recommendation is to start by building a website.
More...
“But I don’t know how to build a website. Plus I don’t have much time and technology scares me.”
What if I told you that you could have your own online tutoring website up and running in the next 30 minutes without any previous experience with website building?
“How much will that cost?”
Nothing. Zero bucks. Check out my 4 minute video below which will walk you though the simple, 4 step process to build your very own WordPress website:
What Next?
As a member of Wealthy Affiliate, you now have access to training that will guide you through the basics of getting your website set up. You will also be able to host your website for free on their hosting platform and interact with the very helpful community of WA members. This is great when you’re getting started because you can ask a question and often get an answer quickly from others who have lots of experience with building websites.

Before continuing with building the site, you need to make sure that you update and activate all the preinstalled plugins and delete any sample comments and posts. Here’s a quick step by step video tutorial that shows you how to do this within the WordPress dashboard (the behind the scenes part of your website that only you can see):
Now that you’ve laid the first foundation blocks for your website and updated everything, it’s time to create some pages and add some content. I’ll show you how to do this using the Smart Online Tutoring website as a case study. Here’s a picture of what the website looked like before I added some more pages and content:
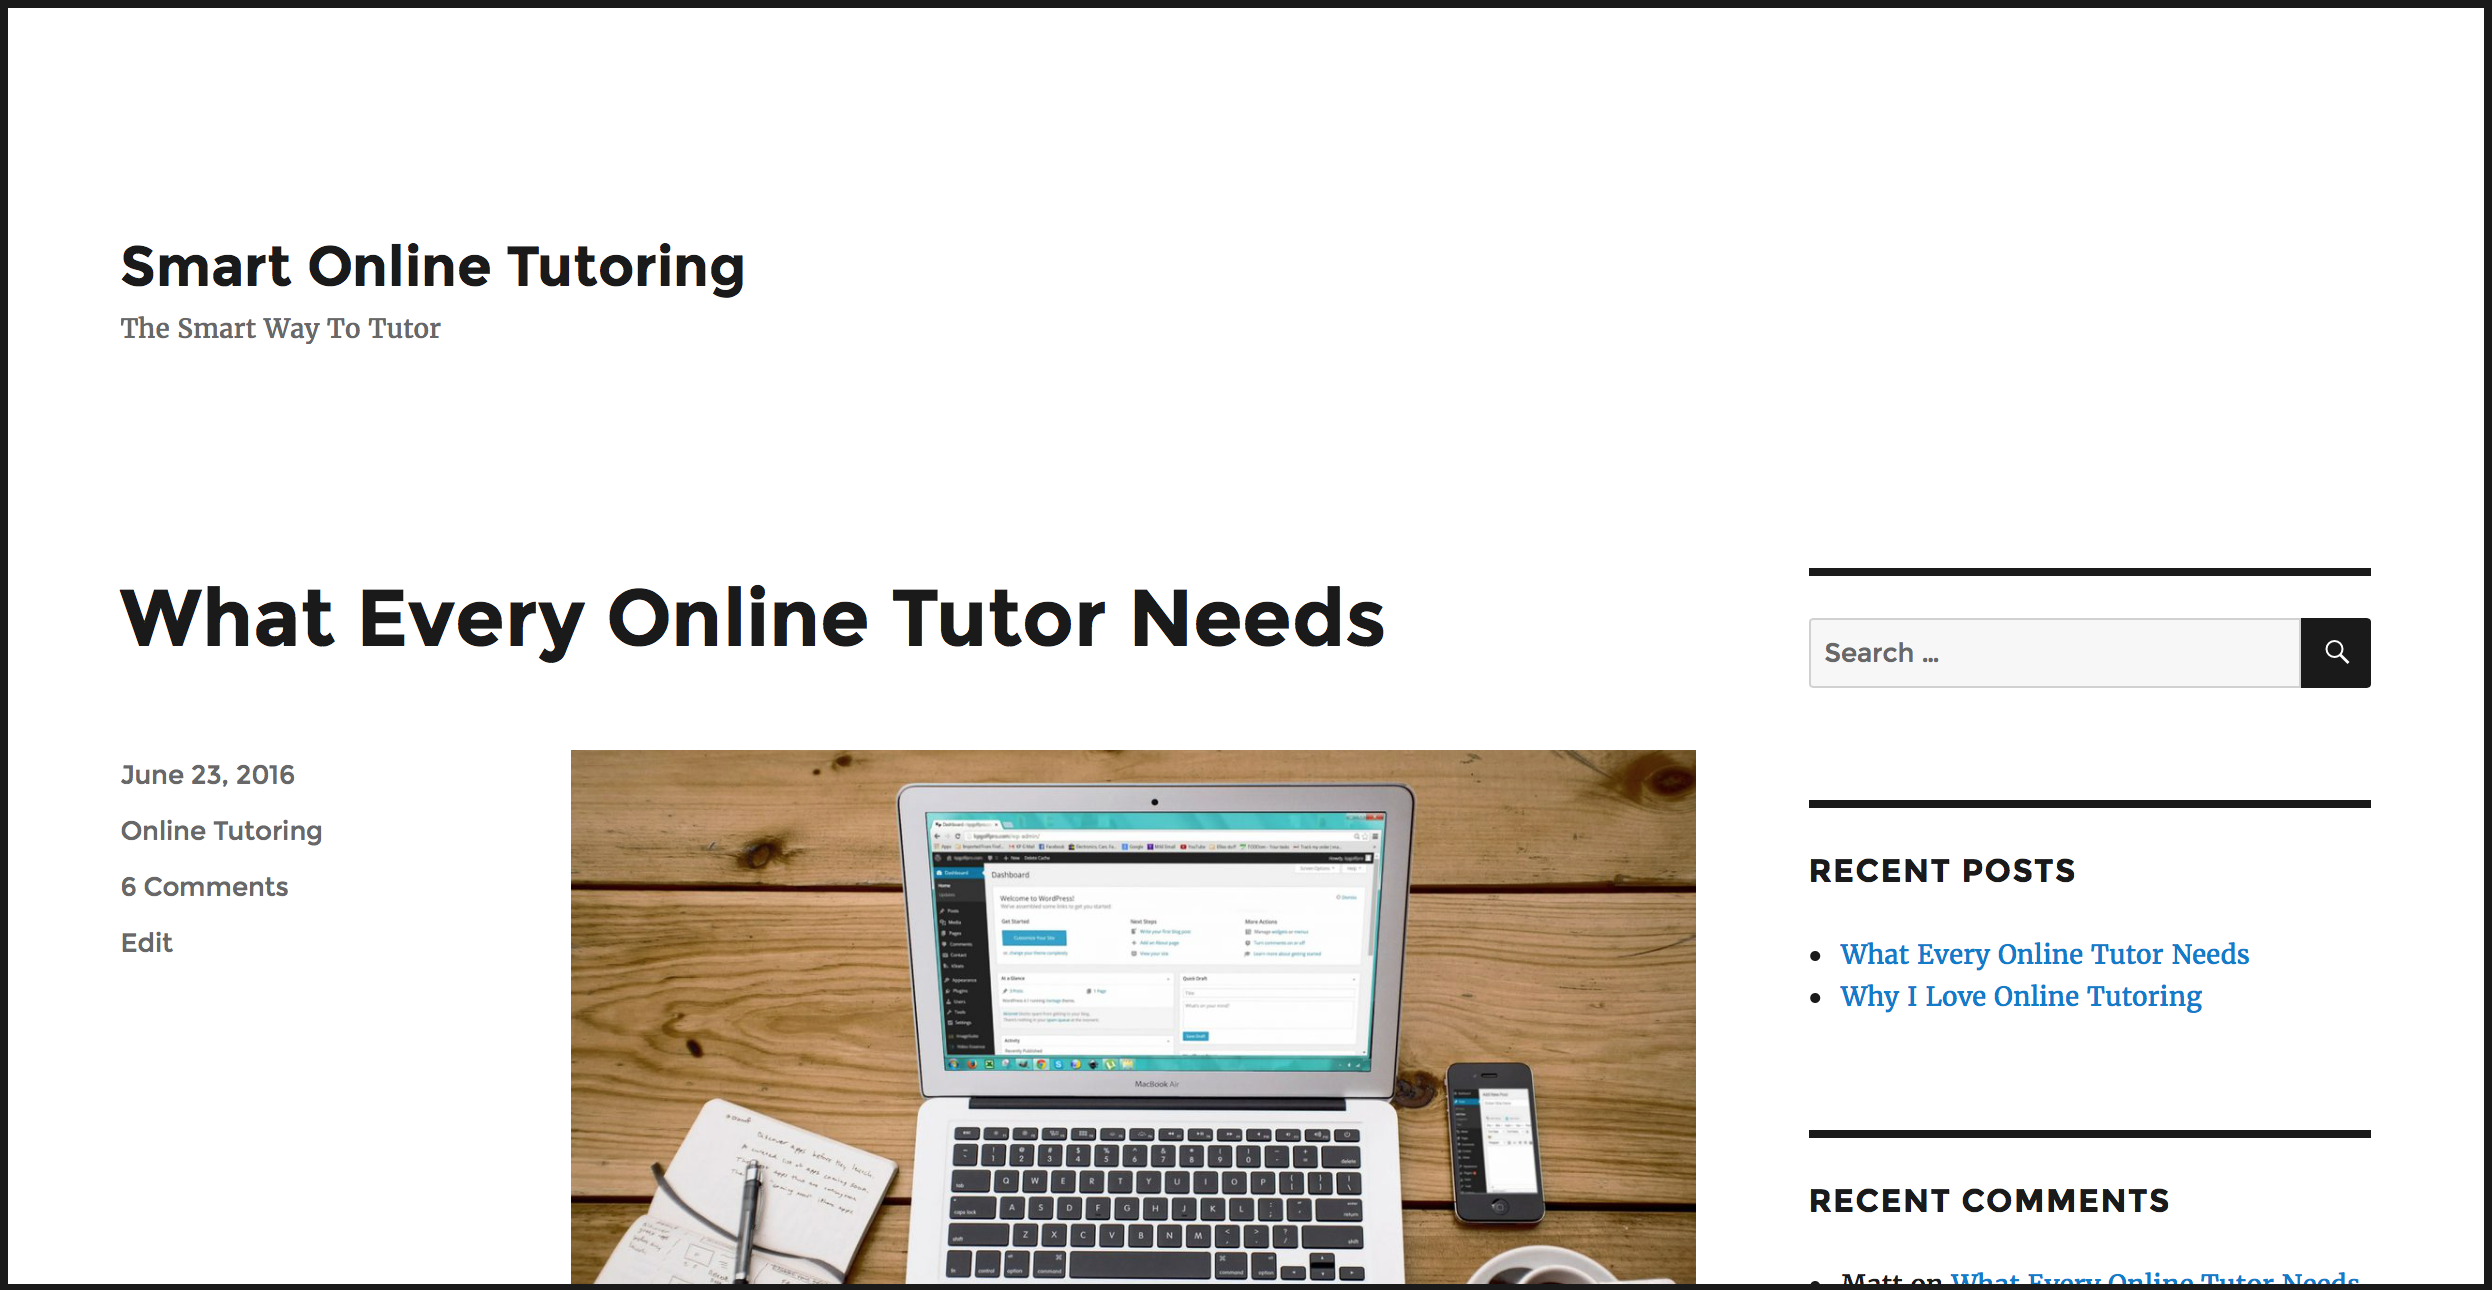
Not bad, but there’s only one page that shows my first two blog posts.
Here’s what it looks like now that I’ve added some pages and written some content in my About page to explain who I am and what the site is about:
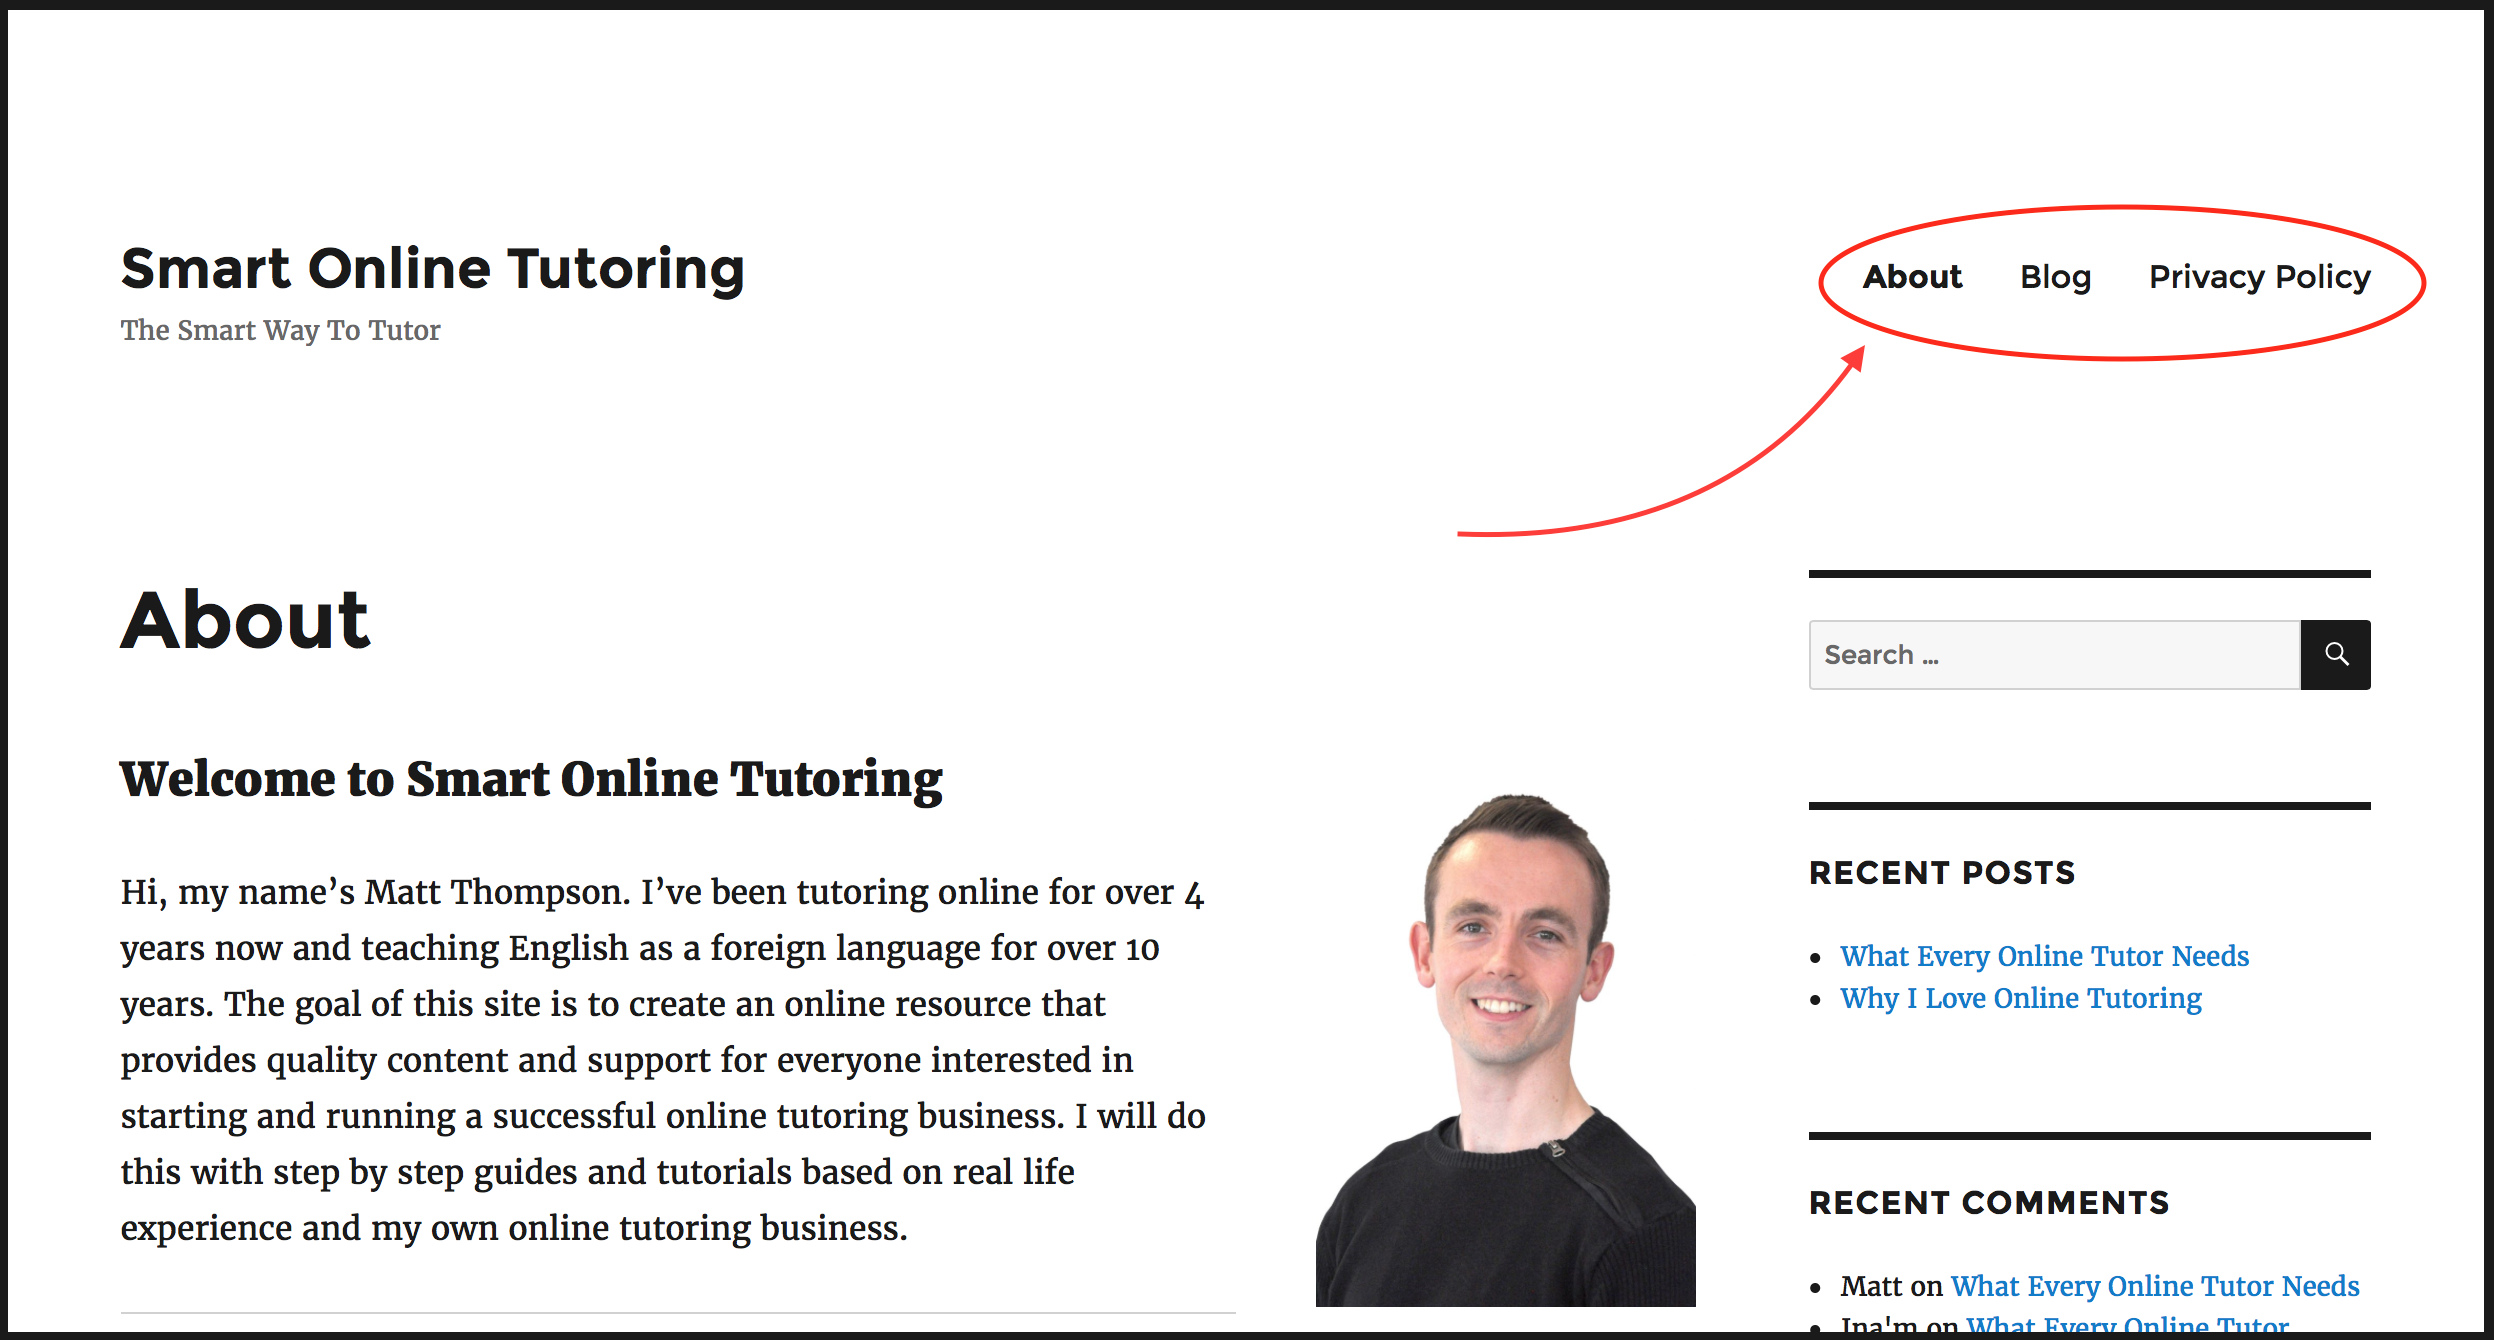
The ‘About’, ‘Blog’ and ‘Privacy Policy’ you can see in the top right hand corner are clickable links that visitors can now use to navigate around the website. Watch this video below to see how I did it:
Over to you
Now it’s your turn! Don’t worry if this is all new to you and seems a bit daunting. If you follow the steps outlined in the videos above, you’ll soon have a firm foundation to build your tutoring website on. Here’s a quick recap on what you can achieve by following the tutorials:
- Set up your account at Wealthy Affiliate (Referral Link)
- Create your own WordPress website
- Update and activate your website plugins
- Add pages on your website
You can do it! And when you do, I’ll be there to show you what’s next for your online tutoring business.
If you get stuck or have any questions, feel free to ask in the comment box below.

