Schedule Online Lessons 24/7
Online tutoring is great, but one of my pet hates is scheduling lessons. All that back-and-forth with emails to try and find a day and time (in the right time zone) that works for me and the student. That's about to change. I've discovered a free online calendar that's going to allow me to schedule online tutoring lessons 24/7. Even in my sleep!
More...
Introducing Calendly

In a nutshell, Calendly helps your schedule online tutoring lessons without the back-and-forth emails.
How does it work?
1. Tell Calendly your availability preferences.
2. Share your Calendly link via email or embed it into your online tutoring website.
3. Your student picks a time and the lesson is added to your calendar.
Sounds good right? Let's get started
Step 1: Sign up for Calendly here
Step 2: Choose your Calendly link, which starts with calendly.com/ (I went for matt-thompson)
Step 3: Choose your time zone (the great thing here is that I can organise everything in my time zone and all my international students will automatically see when I'm available in their own time zone. As an online tutor with students all over the world, this is a fantastic feature! Organising lessons across multiple time zones can be a big headache so thanks Calendly 🙂
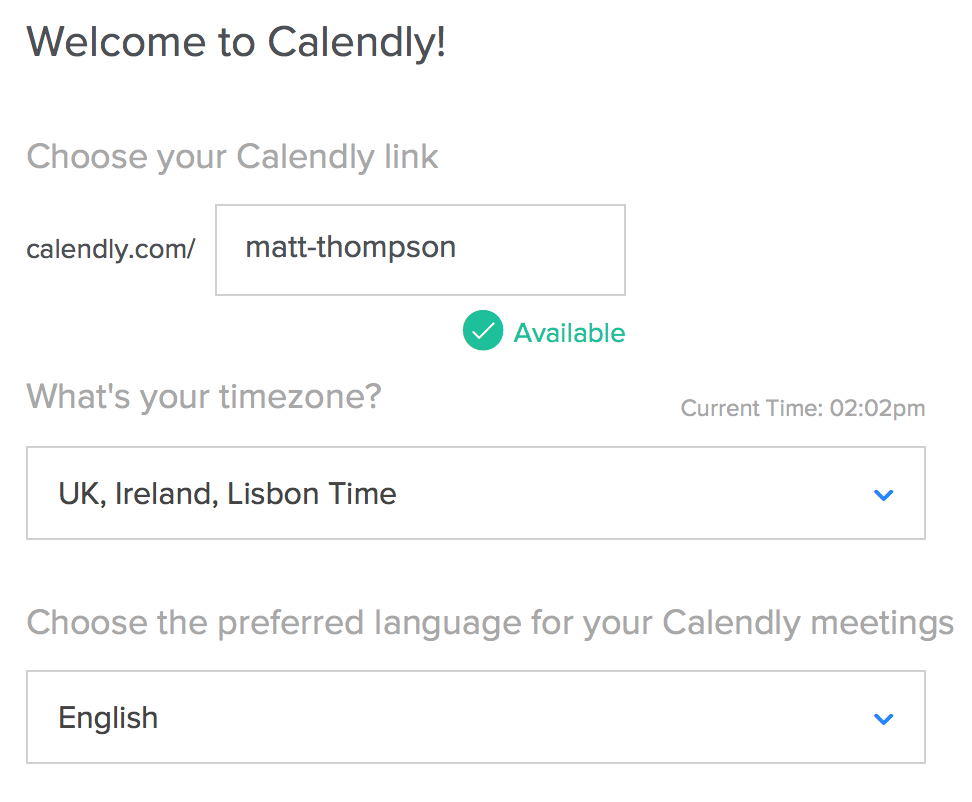
Quick Start - How to set up your Calendly account
Once you've signed up, the next thing you need to do is link Calendly to your existing online calendar. This is so you can keep track of all your lesson bookings.
There are three options here: Google Calendar, Office 365/Outlook.com or iCloud Calendar. If you don't have any of these calendars set up already, I recommend getting a Google calendar, which comes included with your free Google account. If you haven't got a Google account, follow the instructions in the video below:
Task 1: Connect your Google Calendar to your Calendly account
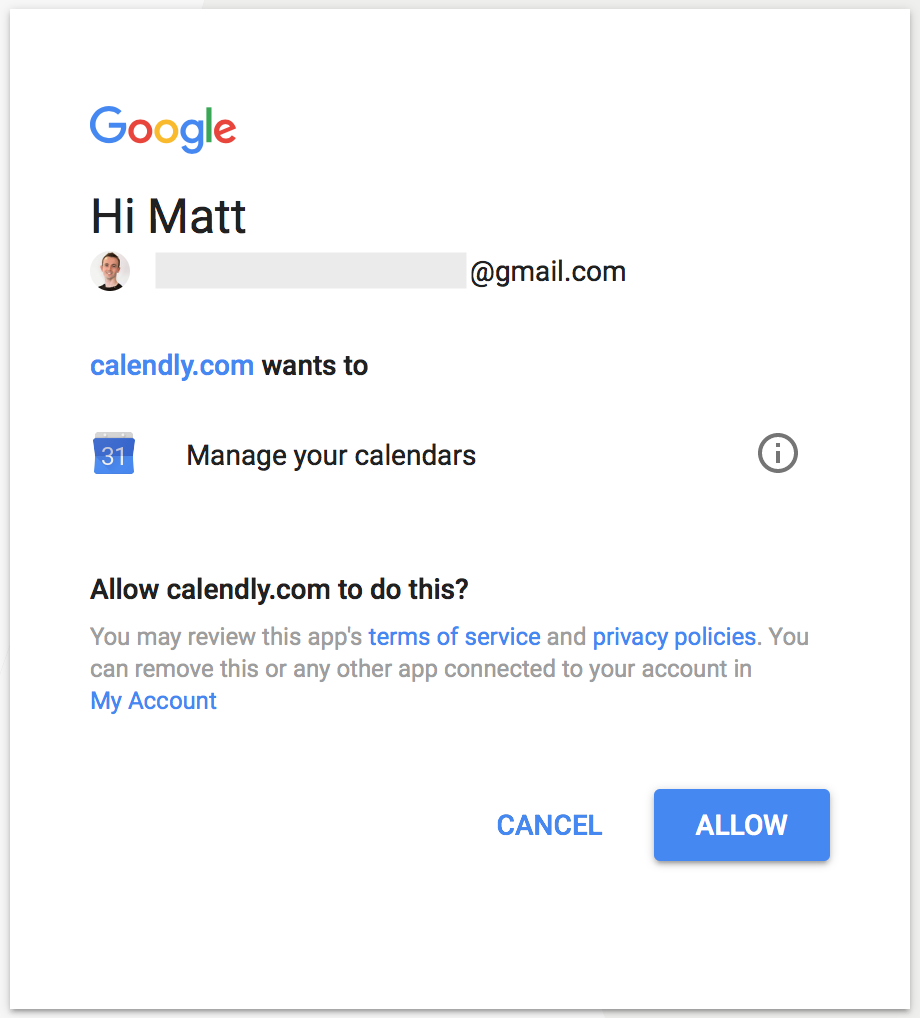
To connect your Google calendar, go to your Calendly account, click the Quick Start tab at the top of your screen then Manage your calendar settings. Choose Google Calendar (or one of the other options if you prefer).
You'll see this screen. Click ALLOW:
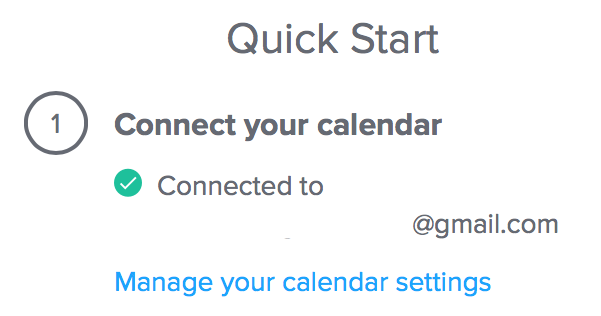
Good work. You've now connected your Google calendar to Calendly and your Quick Start menu should look like this:
Task 2: Set up your availability
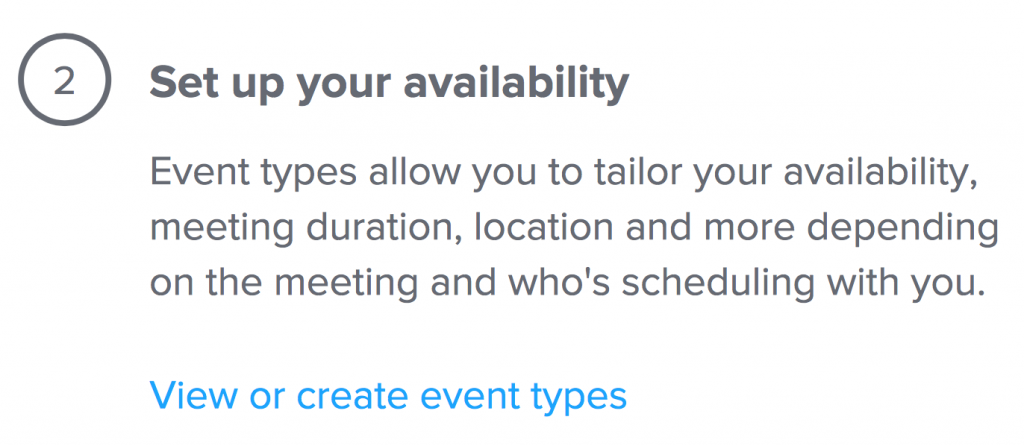
Step 1: Click View or create event types and you'll see these pre-set meeting times:

I only want to offer 1 hour lessons and 30 minute trial lessons so I deleted the 15 minute meeting. If you offer longer lessons (e.g. 2 hours), you can click the + New Event Type button and create a 120 minute meeting.
Tip: To avoid going through the process of setting your availability for each meeting, I recommend setting up a 60 minute meeting then cloning this meeting by clicking the settings cog and selecting clone. Then all you'll need to do is edit the event duration.
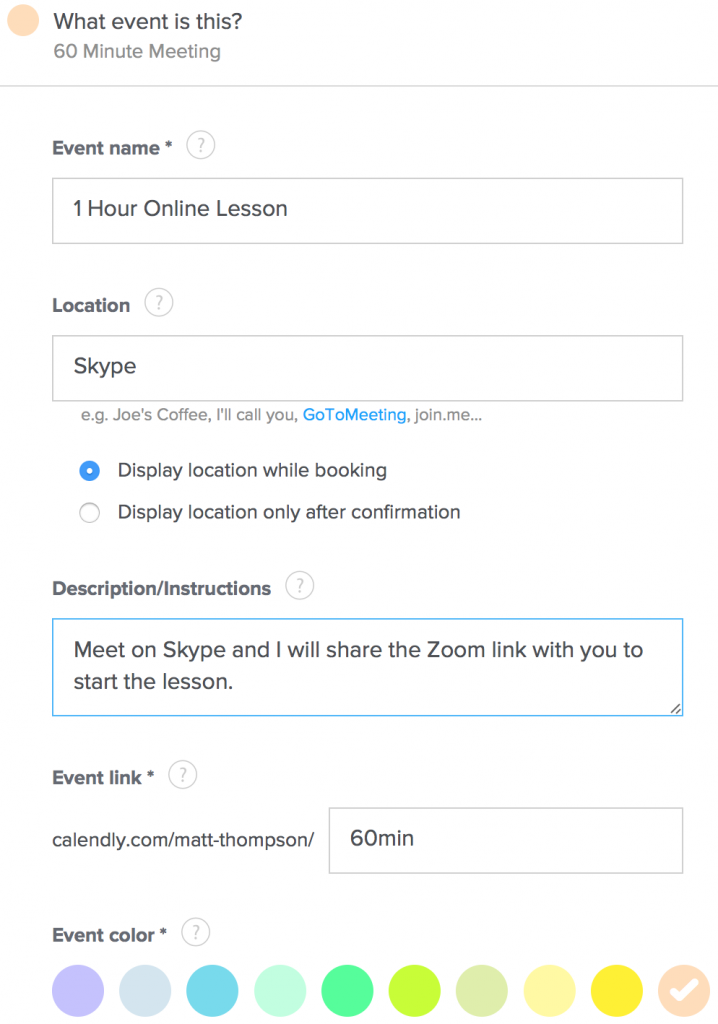
Step 2: Select the 60 Minute Meeting then What event is this? and add an event name and description. Click Save & Close:
Step 3: Select When can people book this event? and chose the Event Duration (e.g. 60 min):
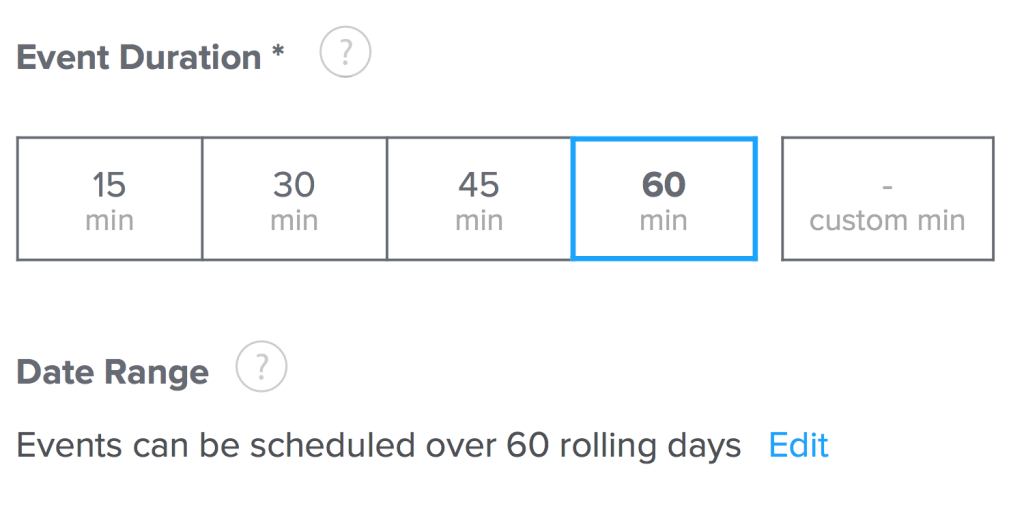
Tip: You can edit the data range to limit how far in advance your students can book lessons. For example, I set the data range for 60 days, which means my students will always be able to see my availability for the next 60 days and book lessons that far in advance.
Step 4: Edit your availability
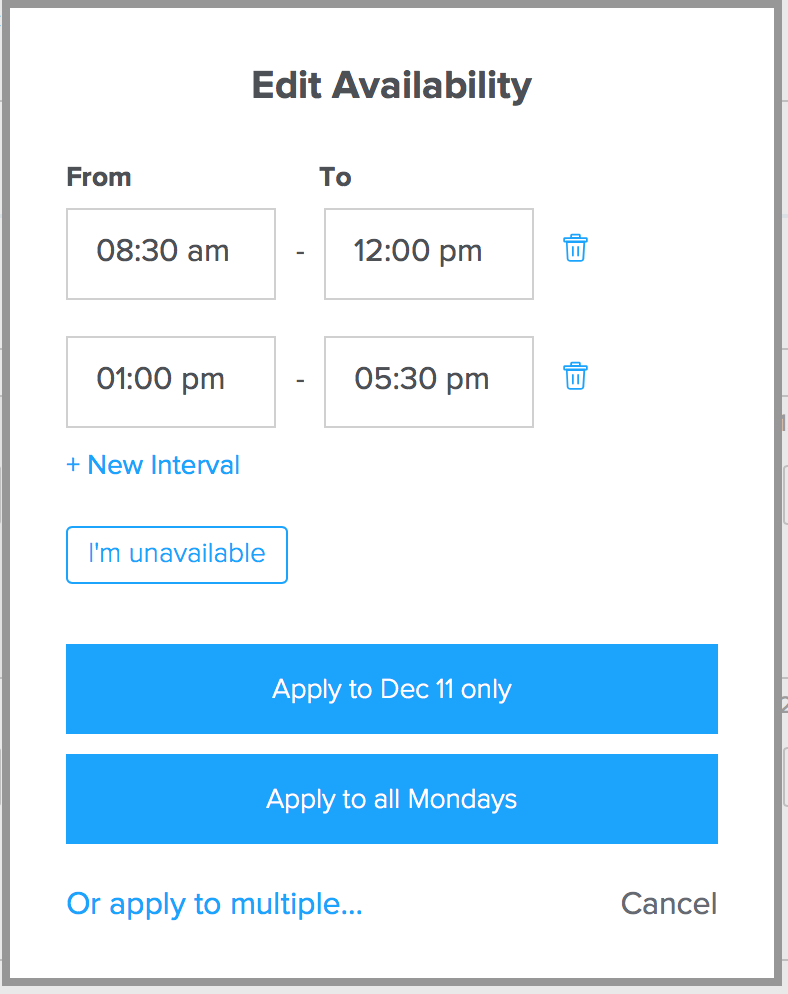
Click a day on the calendar and this box will appear:
Choose the From and To times that you want to be available to tutor online.
Click Apply to [the day you selected] or if you have the same schedule every week, click Apply to all Mondays.
Tip: Make sure you get a meal break every day by adding a new interval. Here I've added two intervals (8.30am-12:00pm and 01:00pm-05:30pm). This means students won't be able to book a lesson with me between 12pm and 1pm so I will always be guaranteed a 1 hour lunch break at this time.
Advanced availability settings
This bit's important if you want to:
a) Make the most of your available tutoring time
b) Avoid teaching too many hours in one day
c) Give yourself enough time to prepare lessons
d) Take breaks
Step 1: Under the Availability section, click the Advanced tab (next to Hours):
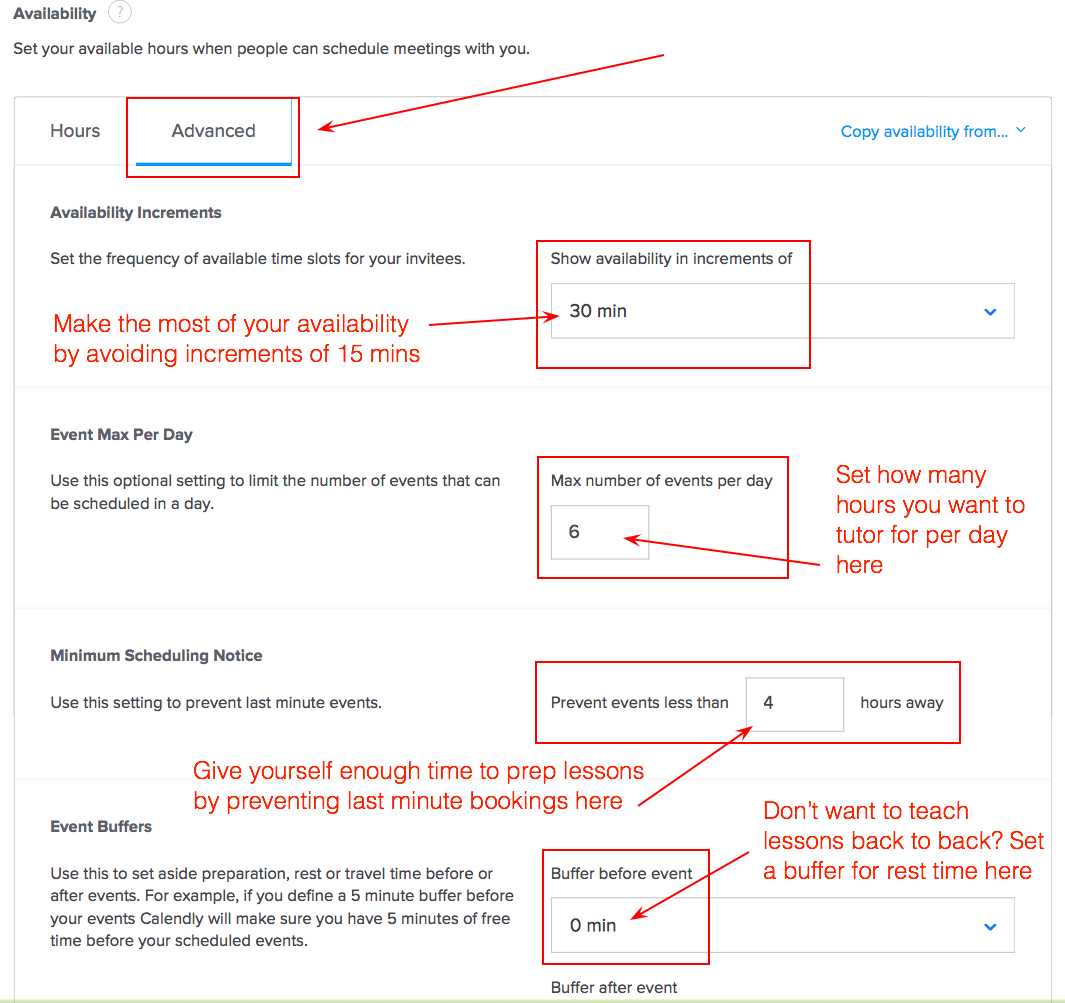
Step 2: Edit Availability Increments. I only want to offer 1 hour lessons or 30 minute trial lessons. I also want to teach between 8.30am and 12pm in the morning and 1pm and 5.30pm in the afternoon. By setting the frequency of available time slots to increments of 30 minutes, this will make the most of my availability.
How? Ideally I want students in the morning at 8.30am, 9.30am and 11am. If I allow start times every 15 minutes, one student might book a lesson at 9.15, which means I won't be able to schedule 3 lessons in the morning. Setting availability increments of 30 mins (or even 60 mins) will give you more control to teach the number of lessons you want in a day.
Step 3: Set your Event Max Per Day to the number of lessons you want to teach each day, e.g 6. When 6 events have been scheduled, students will no longer be able to book lessons with you that day. This will make sure you don't end up doing an epic day of tutoring...unless that's what you want!
Step 4: I like to be well prepared for my lessons and am not a fan of last minute lesson bookings that don't give me enough time to prepare properly. You can set your Minimum Scheduling Notice to prevent these last minute bookings. Tip: You could set this to 24 hours if you have a 24 hour cancellation policy.
Step 5: Tutoring online is very efficient so it's possible to teach back to back lessons with different students if you're organised and punctual with your start and finish times. I don't mind teaching back to back lessons but if you want to guarantee breaks between lessons, you can set a buffer in the Event Buffers section. Note: This will impact on how many lessons that can be scheduled each day unless you adjust your availability increments (see step 2).
Task 3: Get your first meeting
Now you're ready to share your Calendly calendar. Clicking on the Quick start tab will give you an email snippet (short text with embedded calendar link) that you can copy, paste and email to your students:
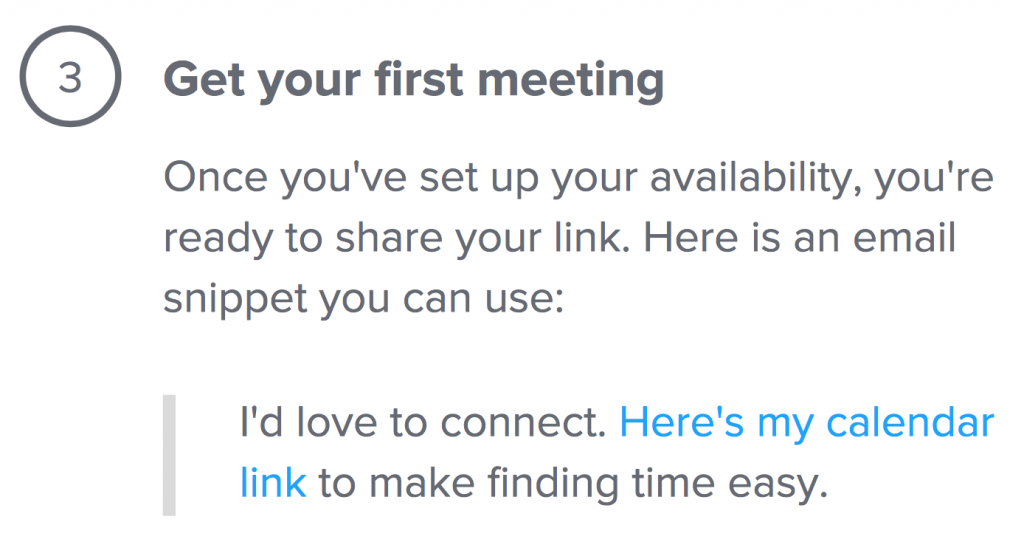
This is a good option if you don't have a tutoring website. However, I want to add this calendar to my site so that any existing or potential new student can schedule a lesson with me 24 hours a day, 7 days a week. This is where Calendly can really help you to get more online students and grow your online tutoring business.
Step 1: Click the drop down menu with your calendly.com link:

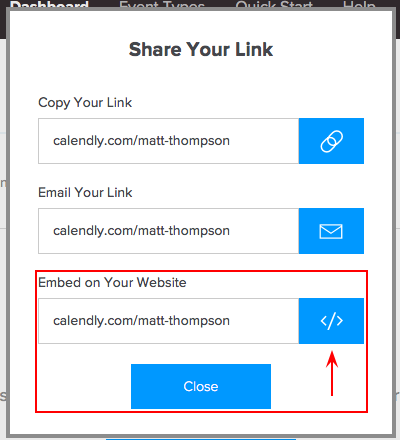
Step 2: Select Share Your Link:

Step 3: Click the blue </> button:
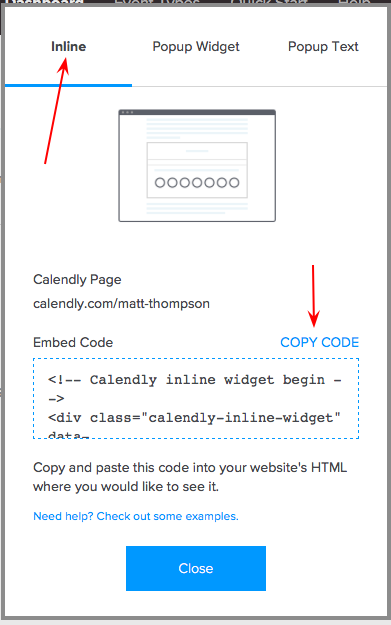
Step 4: Click Inline then click Copy Code:
Adding Calendly code to your online tutoring website
I have a WordPress site so I'll show you how to do this for WordPress, but if you use a different website builder, click here for info on how to embed on sites like Squarespace and Wix.
Step 5: Sign into WordPress. In the Admin area, click on the Pages section and select the page where you want to embed Calendly. For example, this could be your homepage, prices page or a separate page called 'Calendar' just for booking lessons.
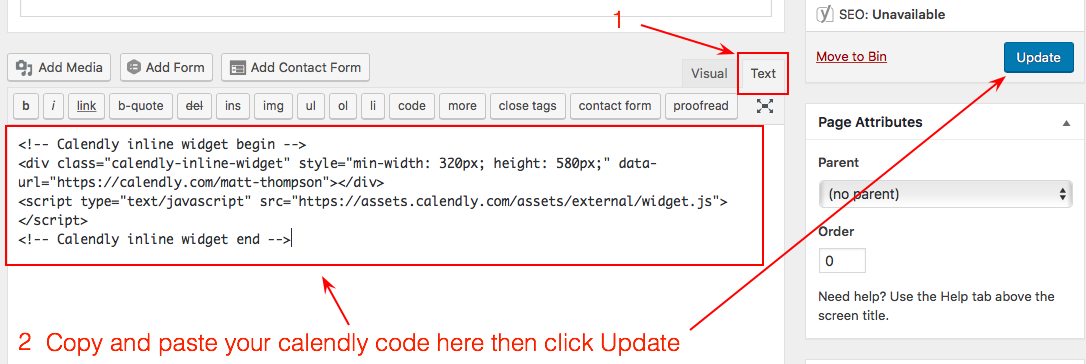
Click on Text view and paste the code into the page. Then click update:
Step 6: View the page and it should look something like this:
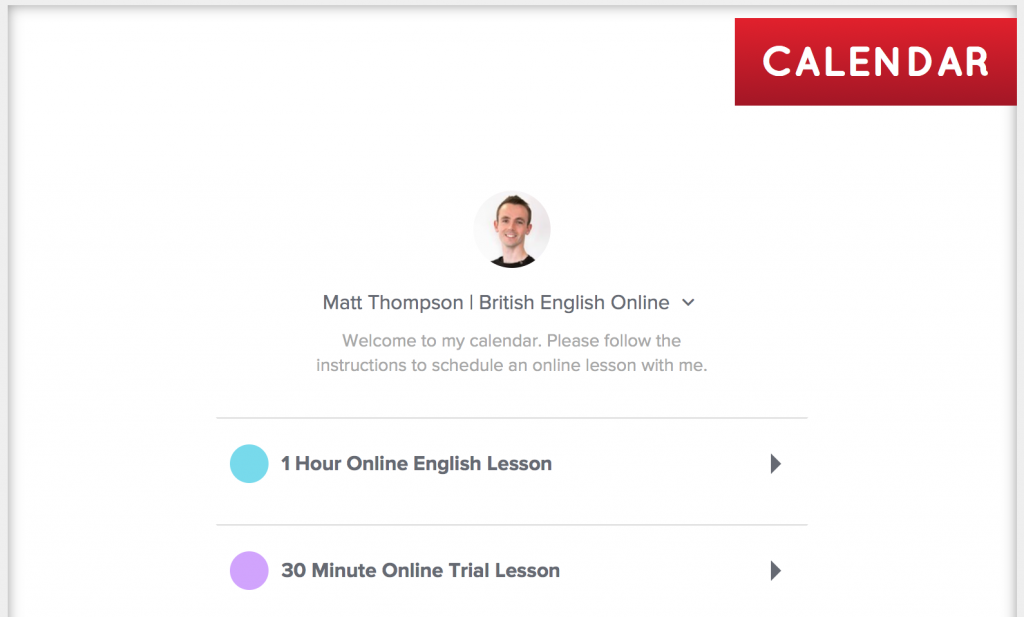
Step 7: Congratulate yourself on a job well done! You've set up your Calendly calendar on your website and you're ready to start booking online lessons on autopilot.
Note: When your free 14-day trial of Calendly runs out, you'll automatically be downgraded to their free Basic plan, which only allows 1 event type. This means if you've created two events like me (1 hour lessons and 30 minute lessons), only one of these will show up on your calendar unless you upgrade to one of their paid packages. You can upgrade from your billing page and pay $10 per month for Premium or $15 per month for Pro. Both plans allow unlimited event types plus other features that you can compare here.
Want to save time and earn more money tutoring online?
With Calendly, now you can schedule online lessons 24/7 and every time a student books a lesson, your online calendar will be automatically updated.
Sure, it takes a bit time to set up your Calendly calendar but if you follow the steps I've outlined above, this is going to save you a ton of time and effort in the future. Instead of faffing around with emails or time zone maths, you'll be able to focus on much more exciting and rewarding things like tutoring your students and growing your online business.


